Here is the journey I made making a gluten-free apple pie. It wasn’t easy because gluten-free dough is ridiculous to work with. The pie looks a smidge burnt, but tastes amazing!
I started with this crust:
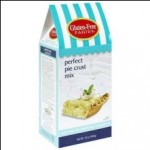
Let’s be real, I wasn’t about to make the crust from scratch the first time I’m making a pie *ever*. It’s from The Gluten Free Pantry brand and I bought mine at Health Hut, a local hippie store. I’m sure other places have it, too. I just followed the directions on the package… it was pretty easy. Not a big deal. After I made the dough, I placed it in the fridge. Cold dough is much easier to work with than warm dough (at least for gluten-free). So I balled up 2 halves and wrapped them separately in plastic wrap.
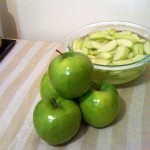
This is when you’d want to start peeling and slicing 6-7 apples. I recommend Granny Smith. I put my slices in a bowl of cold lemon water to prevent browning.
After an hour or so, I took out one ball out and attempted to roll it out. Not only was the dough tough to work with because it was hard and cold, but it was falling apart because it’s g-free. Even after it warmed up a bit, the falling apart only got worse. This is when my crabbies started. I had to use a lot of rice flour to keep the counter and my rolling pin from even sticking in the slightest. One small pull would cause the dough to fall apart.
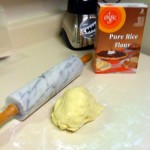

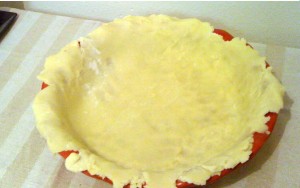
I used Ener-G brand rice flour because that’s what the hippie store had on sale, but I think any g-free flour will do. After greasing a pie dish, I gently placed a half circle of rolled-out dough into the bottom. The whole circle of dough will not lift off the counter without falling into pieces. I pinched together the seams. It’s a little messy but not terrible…
Next, is the apple layering inside. It’s hard to measure it out since I guesstimated with my mom’s recipe. I started by cutting up a few Tbsp of Butter and putting it in the bottom followed by a few Tbsp of Sugar and a sprinkling of Cinnamon.
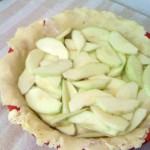
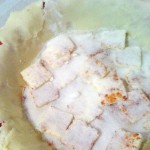
On top of that goes a layer of apples, then a sprinkling of 1 Tbsp of Rice Flour. This gets repeated until the pile of apples is heaping over the pie dish level. Arrange slices if needed so that mostly rounded edges are facing up, as to not poke through the top layer of dough.
This is the point of more crabbies. By now, my 2nd ball of dough was too warm to work nice. When I rolled out the pieces, it fell apart a lot more than before.
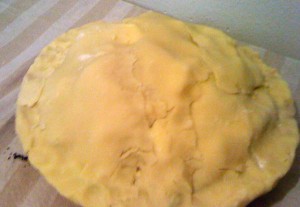
The top of my pie looks like a patchwork quilt…
The picture is a little dark, but you can clearly see this is not pretty. After sealing the edges and trying to press together the top, I brushed an egg white over the top. Then sprinkled sugar all over it. This seals the dough, makes the top shiny and also allows the sugar to stick.
The pie gets baked at 400* for about 20 min, then 350* for 10-20 more. I baked mine a bit too long…
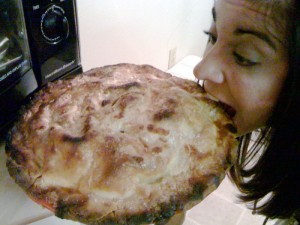
That’s my beautiful sister gnawing on the edges. She & my New Year’s Eve guests didn’t seem to mind the minor burns. Overall reviews said it was tart, but in a good way. I personally prefer sweet apple pie with lots of goo in the middle. I had a medium amount of goo, so I will probably add more flour to the center layers next time. I highly recommend this brand of pie crust – couldn’t even tell it was g-free!